Why Oversized Images Are a Real Problem
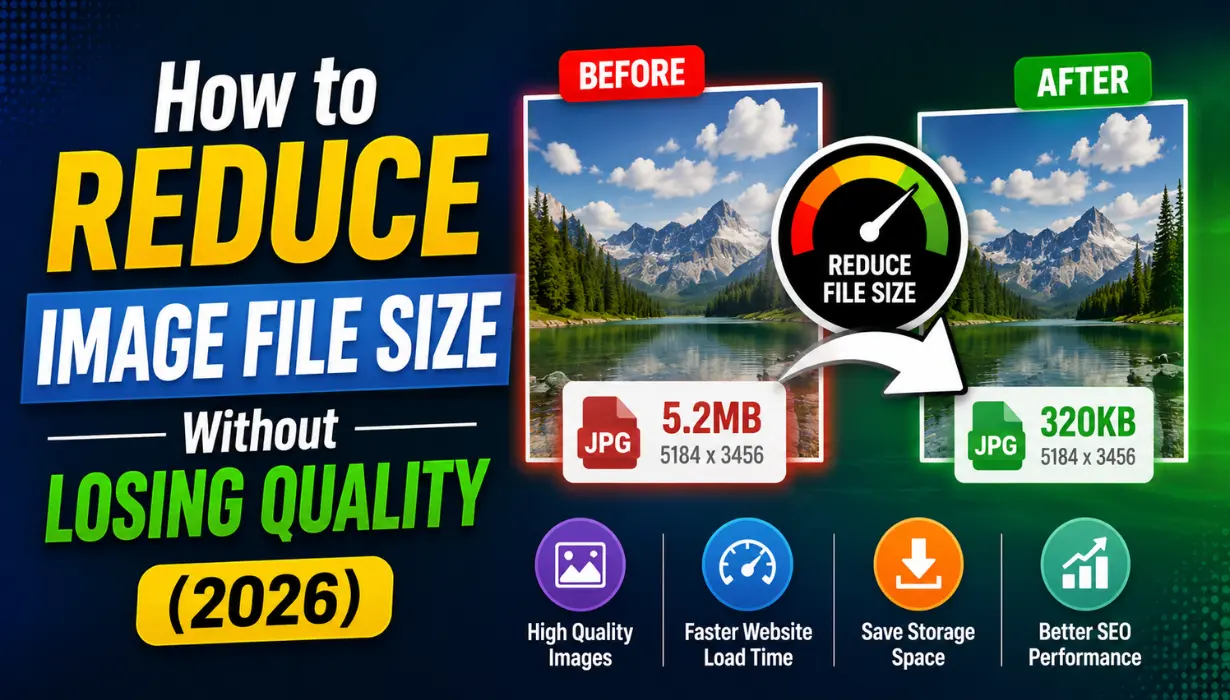
Images are typically the largest files on any webpage. A single unoptimized photograph can easily be two or three megabytes, and a page with a dozen such images can take five to ten seconds to fully load on a standard internet connection. That is long enough for most visitors to leave before they have even seen your content.
Beyond website performance, large image files fill up phone storage, slow down email attachments, and create unnecessary strain on server bandwidth. The encouraging reality is that most images can be reduced to a fraction of their original size with very little visible impact on quality. You just need to know which approach to use and when.
Step 1: Use the Right Format for the Job
The single most impactful thing you can do for image file size is make sure you are using an appropriate format before doing anything else. Using a PNG for a full-resolution photograph is one of the most common ways people end up with unnecessarily large files, since PNG preserves every pixel of detail even in areas where a slight reduction would never be noticed.
As a general rule: use WEBP or JPG for photographs and images with complex colors, and use PNG or WEBP for graphics, logos, screenshots, and anything requiring a transparent background. Converting a photograph from PNG to WEBP alone can often reduce the file size by 60 to 80 percent with no visible quality difference.
Step 2: Resize the Image to Its Actual Display Size
One of the most overlooked file size reducers is resizing. If an image will be displayed at 800 pixels wide on your website, there is absolutely no need to upload it at 4000 pixels wide. The browser will scale it down anyway, but the visitor still has to download all those extra pixels first.
Before uploading any image to a website or sharing it online, resize it to the maximum dimensions at which it will actually be displayed. For most blog post images, this is typically somewhere between 800 and 1200 pixels wide. For thumbnail images, it may be even smaller. Resizing alone can reduce file size by 80 to 90 percent for images captured on modern smartphone cameras.
Step 3: Adjust Compression Settings
Most lossy formats like JPG and WEBP allow you to control the aggressiveness of compression through a quality setting, usually expressed as a number between 0 and 100. Higher numbers mean better quality and larger files; lower numbers mean smaller files with more visible quality loss.
For most web images, a quality setting between 70 and 85 offers an excellent balance. At this range, the file size reduction compared to maximum quality is significant, while the visual difference is barely noticeable on screens. Avoid setting quality below 60 unless file size is absolutely critical, as artifacts start becoming obvious in most images below that threshold.
Step 4: Strip Unnecessary Metadata
Photos taken on smartphones and digital cameras typically contain embedded metadata, including GPS location data, camera model information, shooting settings, copyright information, and timestamps. While this can be valuable for personal archives, it adds file size that is unnecessary for web display or general sharing.
Stripping metadata during export or conversion is a simple step that can shave off anywhere from a few kilobytes to hundreds of kilobytes depending on how much data the original file contained.
Step 5: Use Lossless Compression for Graphics
Not all images should be compressed using the same approach. Graphics with sharp edges, flat color areas, and text are very sensitive to the kinds of artifacts that lossy compression introduces. For these images, using a lossless format or lossless compression mode within a format like WEBP or PNG will actually produce better results than aggressive lossy compression, even if the file size savings are somewhat smaller.
A blurry or artifact-heavy logo is worse than a slightly larger but crisp one, so it is worth accepting a larger file in exchange for quality when the content demands it.
Practical File Size Targets for Web Use
• Hero or banner images: aim for under 200 KB after compression
• Blog post featured images: aim for under 150 KB
• Product images in an online store: aim for under 100 KB per image
• Thumbnail images: aim for under 30 KB
• Logo and icon files: aim for under 20 KB
Putting It All Together
A consistent optimization workflow makes a significant difference over time. When you prepare an image for web use, resize it to the dimensions it will actually be displayed at, convert it to WEBP if possible, set a compression quality between 70 and 85, and strip metadata before uploading. Following these steps consistently across your entire image library will meaningfully improve your website's loading speed without any perceptible impact on how your images look to visitors.
Frequently Asked Questions
Does reducing file size always reduce image quality?
Not necessarily. Using a more efficient format, resizing to actual display dimensions, or removing metadata can all reduce file size with no visible impact on quality.
What is the best format for the smallest file size without quality loss?
WEBP with lossless compression typically produces the best results for graphics, while WEBP with lossy compression set around 75 to 85 quality is excellent for photographs.
Should I resize images before or after converting the format?
Resize first, then convert and apply compression. This ensures the converter is working with the final intended dimensions rather than unnecessarily processing extra pixels.
Is there a free tool to reduce image file size?
Yes, free online image converters can convert your images to more efficient formats and apply compression without requiring any software installation.
Why are smartphone photos so large?
Modern smartphone cameras capture images at very high resolutions with minimal in-camera compression, producing large, detailed files that benefit significantly from resizing and format conversion before sharing.
Conclusion
Ready to put these tips into practice? Use our free online image converter tools to quickly convert your images to WEBP, JPG, or any other format and significantly reduce file size without installing any software.